-
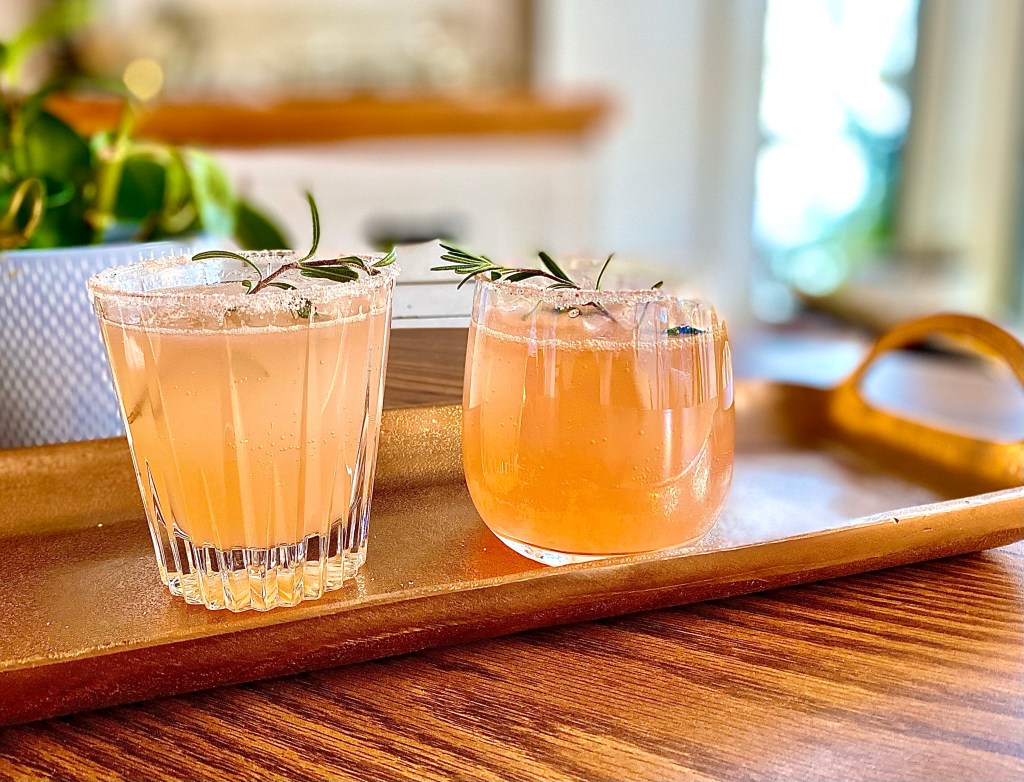
Gin and Sauvignon sipper: An Every Day Gin Cocktail for the Wine Drinker

Sometimes you just need a good drink in the middle of the week. This one is stout without being too strong, flavorful but not overwhelming, and goes great with relaxing by a fire.
Ingredients:
- 2 oz gin (this kind is lovely)
- 1 oz Sauvignon Blanc white wine
- 1/2 oz elderflower liquor
- 1 oz lemon juice
- Top off with Rambler grapefruit flavored sparkling water
- A couple of teaspoons, to taste, maraschino cherry juice
Place a few large cubes of ice in a glass (this one is gorgeous and a good deal). Add all ingredients except maraschino juice, and stir. Add the cherry juice at the end and let it settle on its own. Drink.

-
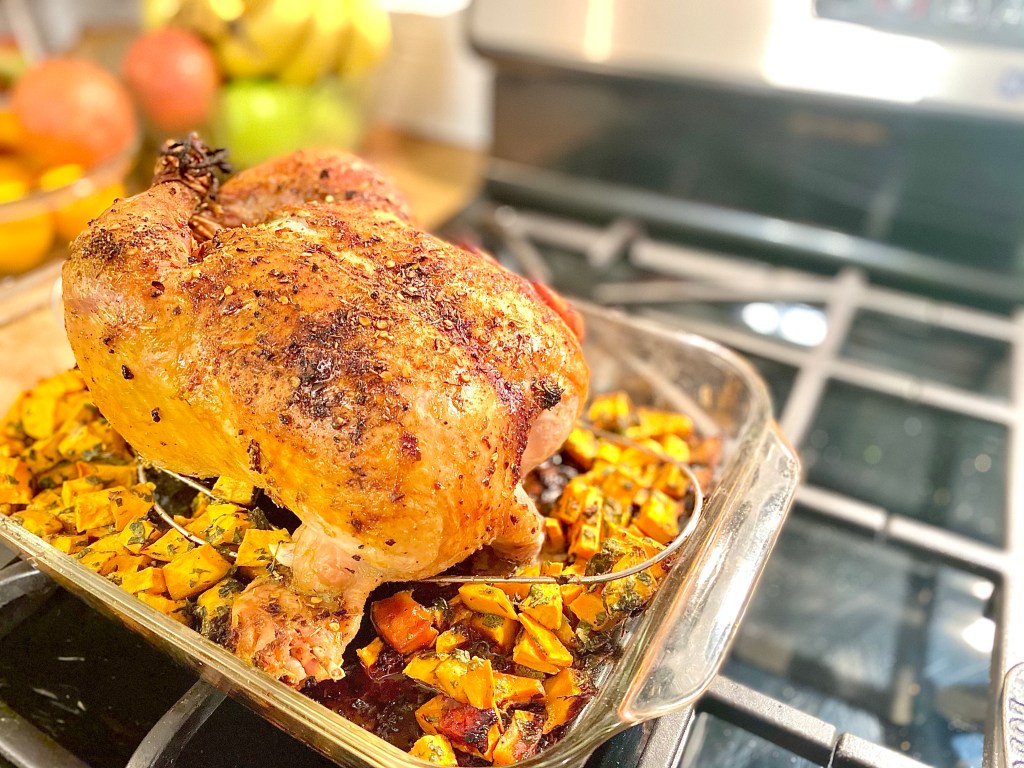
Sweet potato side dish with spring herbs and garlic

This sweet potato dish goes perfectly with a roast chicken, but would also be great for breakfast with an egg. It’s versatile and easy and if you prefer your sweet potatoes savory can make an excellent holiday dish too. Now that it’s gardening season, herbs are readily available so experiment with all kinds! (If you need some seeds, click here for my Seeds Now affiliate link.)
Ingredients (makes about four large servings):
- 3 medium to large sweet potatoes
- Four tablespoons avocado oil or duck fat
- About a half a cup finely chopped herbs, your preference. I used sage, parsley, marjoram and oregano.
- 1/2 tsp sea salt
- 1/4 tsp white pepper
- 1/4 tsp black pepper
- 2 cloves garlic or a tablespoon of garlic paste
Instructions:
Peel and chop the sweet potatoes into bite sized cubes. Add the oil, garlic, herbs and spices and mix well. Prepare a baking dish with parchment paper if cooking these by themselves. Place them into the oven, preheated to 400, for about 20-30 minutes, depending on how soft you like them. I added these to a chicken I had roasting for the last 30 minutes.
-
Tequila cocktail: Champagne Palomas

Just an easy and fun twist on a classic for your weekend! Happy drinking!

Makes 2:
3 oz silver #tequila
Juice of a large grapefruit
2 oz simple syrup
3 oz lime juice
1 mini bottle or six oz #champagne
Mix all ingredients over ice in a shaker (click here for a really cool one!). Rim two glasses (these are beautiful and classic) with salt and add a large ice cube or several small ones. Pour the mixture over the ice and too with the champagne. Enjoy!
-
Sustainable Kitchen Swaps: Top 5 Ways to Reduce Waste in Your Home

The kitchen may be the hardest place in the house to be eco friendly. Yes, we have reusable straws and a compost bin, but paper towels and zipper bags are a hard habit to break. It’s tough to switch food products you’ve been using for years to one with recyclable packaging. Bringing your own bags to the grocery store is hard to remember. I have been trying to be less wasteful in the kitchen, and these are the products that are helpful in my household:
1. Reusable towels instead of paper towels
I’ll admit, I haven’t been able to completely get rid of the paper towels. There are a few types of spills with kiddos around that I still don’t want to use a reusable item on. I’ll get there, but in the meantime, we have dramatically reduced our paper towel usage with reusable versions. Click here for one of the top rated brands: https://amzn.to/2ZF5Yvv or here for some cotton towels with a cute blue stripe: https://amzn.to/3uqijBI.

2. Plastic or cloth sandwich and storage bags
Yes, even in the kids lunches. This one is definitely the hardest for me to stick to just because of how often we use storage bags. But keeping those little plastic suckers out of the landfills goes a long way towards saving the planet! Click here to purchase clear plastic reusable bags in several sizes and colors: https://amzn.to/2NNRert or here for some very cute, patterned cloth bags: https://amzn.to/3kpu1IB.

3. Sustainable replacements for plastic wrap
I know…it’s so easy to just toss a bowl in the fridge with some plastic cling wrap and toss it when you’re done. But creation of single use plastic items need to be reduced as much as possible, according to this report. Mighty Nest, a company that sells all sorts of sustainable and nontoxic home items, has several great options for this purpose. Not only are they totally sustainable made, they are super cute. Click here to shop!

4. Nontoxic cleaning supplies
It’s hard to let go of the bleach kitchen cleaner smelling vaguely of lemons, because we’ve used it forever and it does work. But these chemical laden cleaners are not only terrible for the environment, they are terrible for you! And they often come in single use plastic bottles, which as we discussed above, needs to stop. Mighty Nest sells nontoxic cleaners at really good prices and uses refillable containers to cut down on packaging waste. Click here to explore what they have to offer. If you prefer wipes, you can go nontoxic there too! Click here for wipes that are nontoxic and biodegradable.
5. Glass storage containers instead of plastic
This one is probably the biggest investment, if, like me, you store tons of leftovers and baked goods and had dozens of cheap plastic containers. Glass doesn’t leach out toxic chemicals and doesn’t fill up landfills when tossed. This set has four pieces and two sizes. Click here for a 24-piece set with cute colored lids: https://amzn.to/3aH4sPI. Click here to shop Mighty Nests wide assortment of glass storage. If mason jars are more your style, click here: https://amzn.to/3bwSd7K.
These five steps will have you on your way to kitchen sustainability! This is by no means an exhaustive list, but I will post more ideas and products as I come across them. If you likes this post, follow me on Instagram @modernhippiekitchen for daily content!
-
Duck Fat Fries with Rosemary: An Air-Fryer Recipe (Gluten-Free, too!)
A couple of weeks ago on Instagram I asked a question in my stories, “do I need an air fryer?” Well, my mom had one she didn’t use so she brought it over. I’ll admit I’m not a fan of the cabinet space it hoards, but there is no question that our fry game got better that day. So I came up with a very simple recipe for duck fat fries. I also recently became accepted as an affiliate for Fatworks, so the timing couldn’t be better!
Ingredients:
- Four to five medium sized yukon gold potatoes (I always go for organic potatoes if I can find them), chopped into french fry sized pieces
- Two tablespoons Fatworks Duck Fat
- Two sprigs rosemary, plus about a tablespoon of finely chopped rosemary
- 1 teaspoon (or more to taste) fine pink Himalayan sea salt
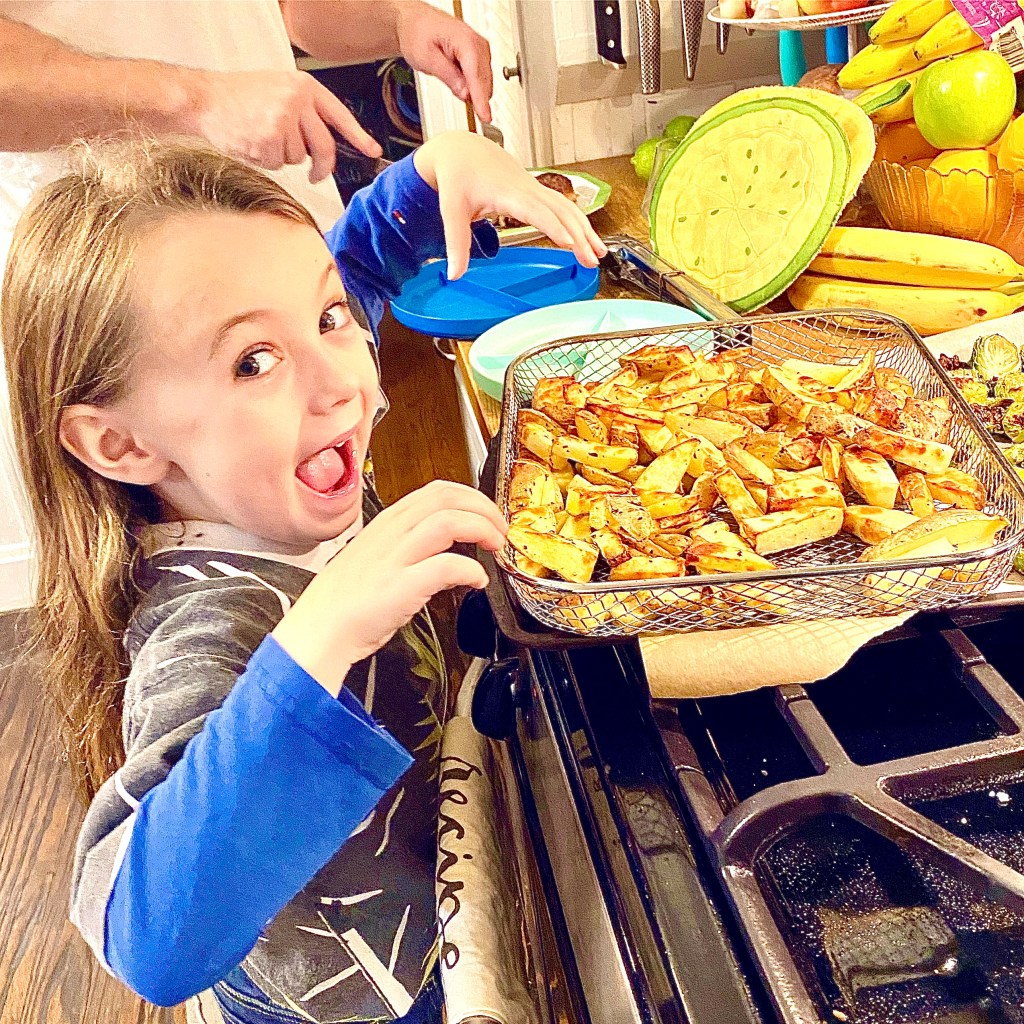
Add the chopped potatoes, oil, chopped rosemary and sea salt to a bowl and mix, coating all of the potatoes with the fat. Place them in the air fryer’s basket (we have one similar to this, and love it). Place the rosemary sprigs on top, gently. I cooked these for about 25 minutes at 400 degrees and they came out perfectly! Different fryers have different cooking directions, so pay attention to that.
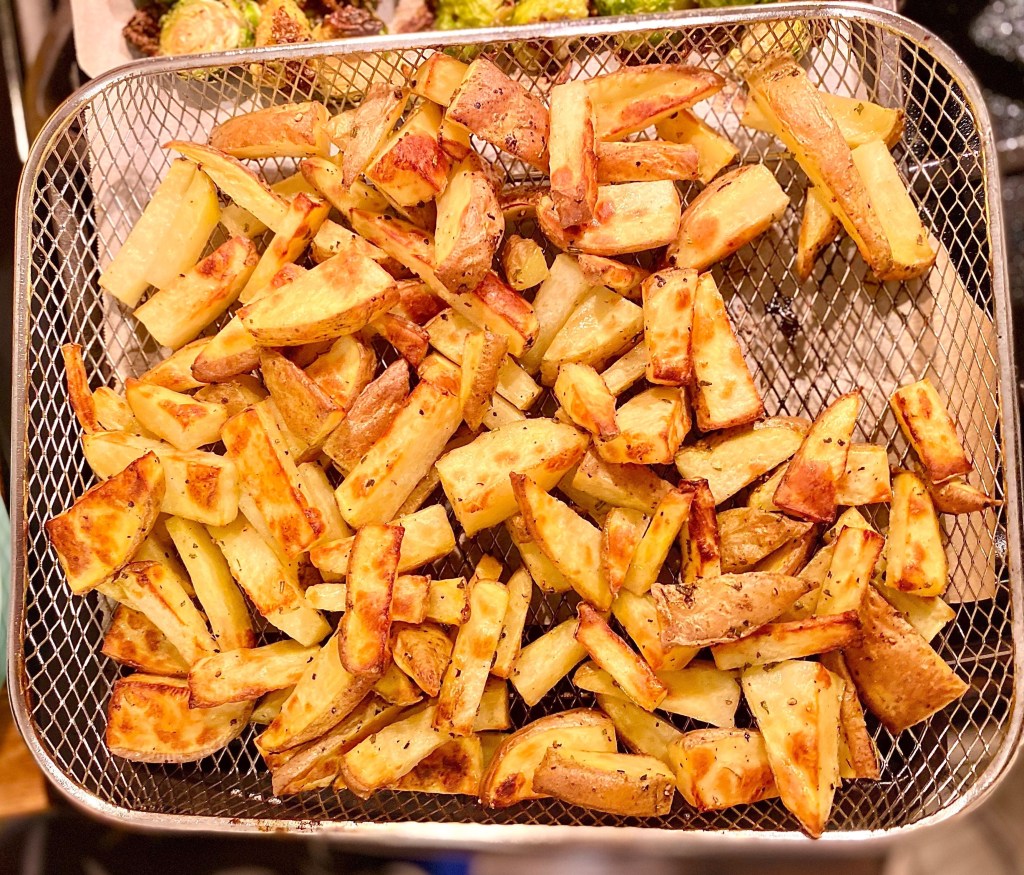
This was a version I made without rosemary, but they were definitely better with it. Kid approved! -
Salmon burger dinner— a gluten-free, one-pan meal
Sometimes you just need a quick and easyoweeknight meal that’s also healthy and good. This one fits that bill. The salmon burgers aregsatisfying without being heavy, and the green chili cumin combo really sets off the flavor of the fish. The freshness of the dill with the potatoes and the simplicity of the green beans combine to make this one of my favorite easy meals.
Ingredients:
For the salmon:
- One pound salmon filets, dried on a paper towel and skin cut off.
- One half a white onion, diced
- 1/3-1/2 cup green chili from a can or jar
- 1 tsp salt
- 1 tsp cumin
- 1/2 tsp cracked pepper
- 1 egg
- 1/2 cup almond flour
For the potatoes:
- Four medium Yukon gold potatoes, pre-baked for about three minutes in the microwave (bake them all together, not separately).
- 3-4 tablespoons melted butter
- 2 tsp salt
- Cracked pepper to taste
- A large handful of fresh dill
For the green beans:
- One 12-oz bag of green beans
- Two pats butter
- 1 tablespoon avocado oil
- Salt and pepper, to taste
Directions:
View this video for the full how-to:


-
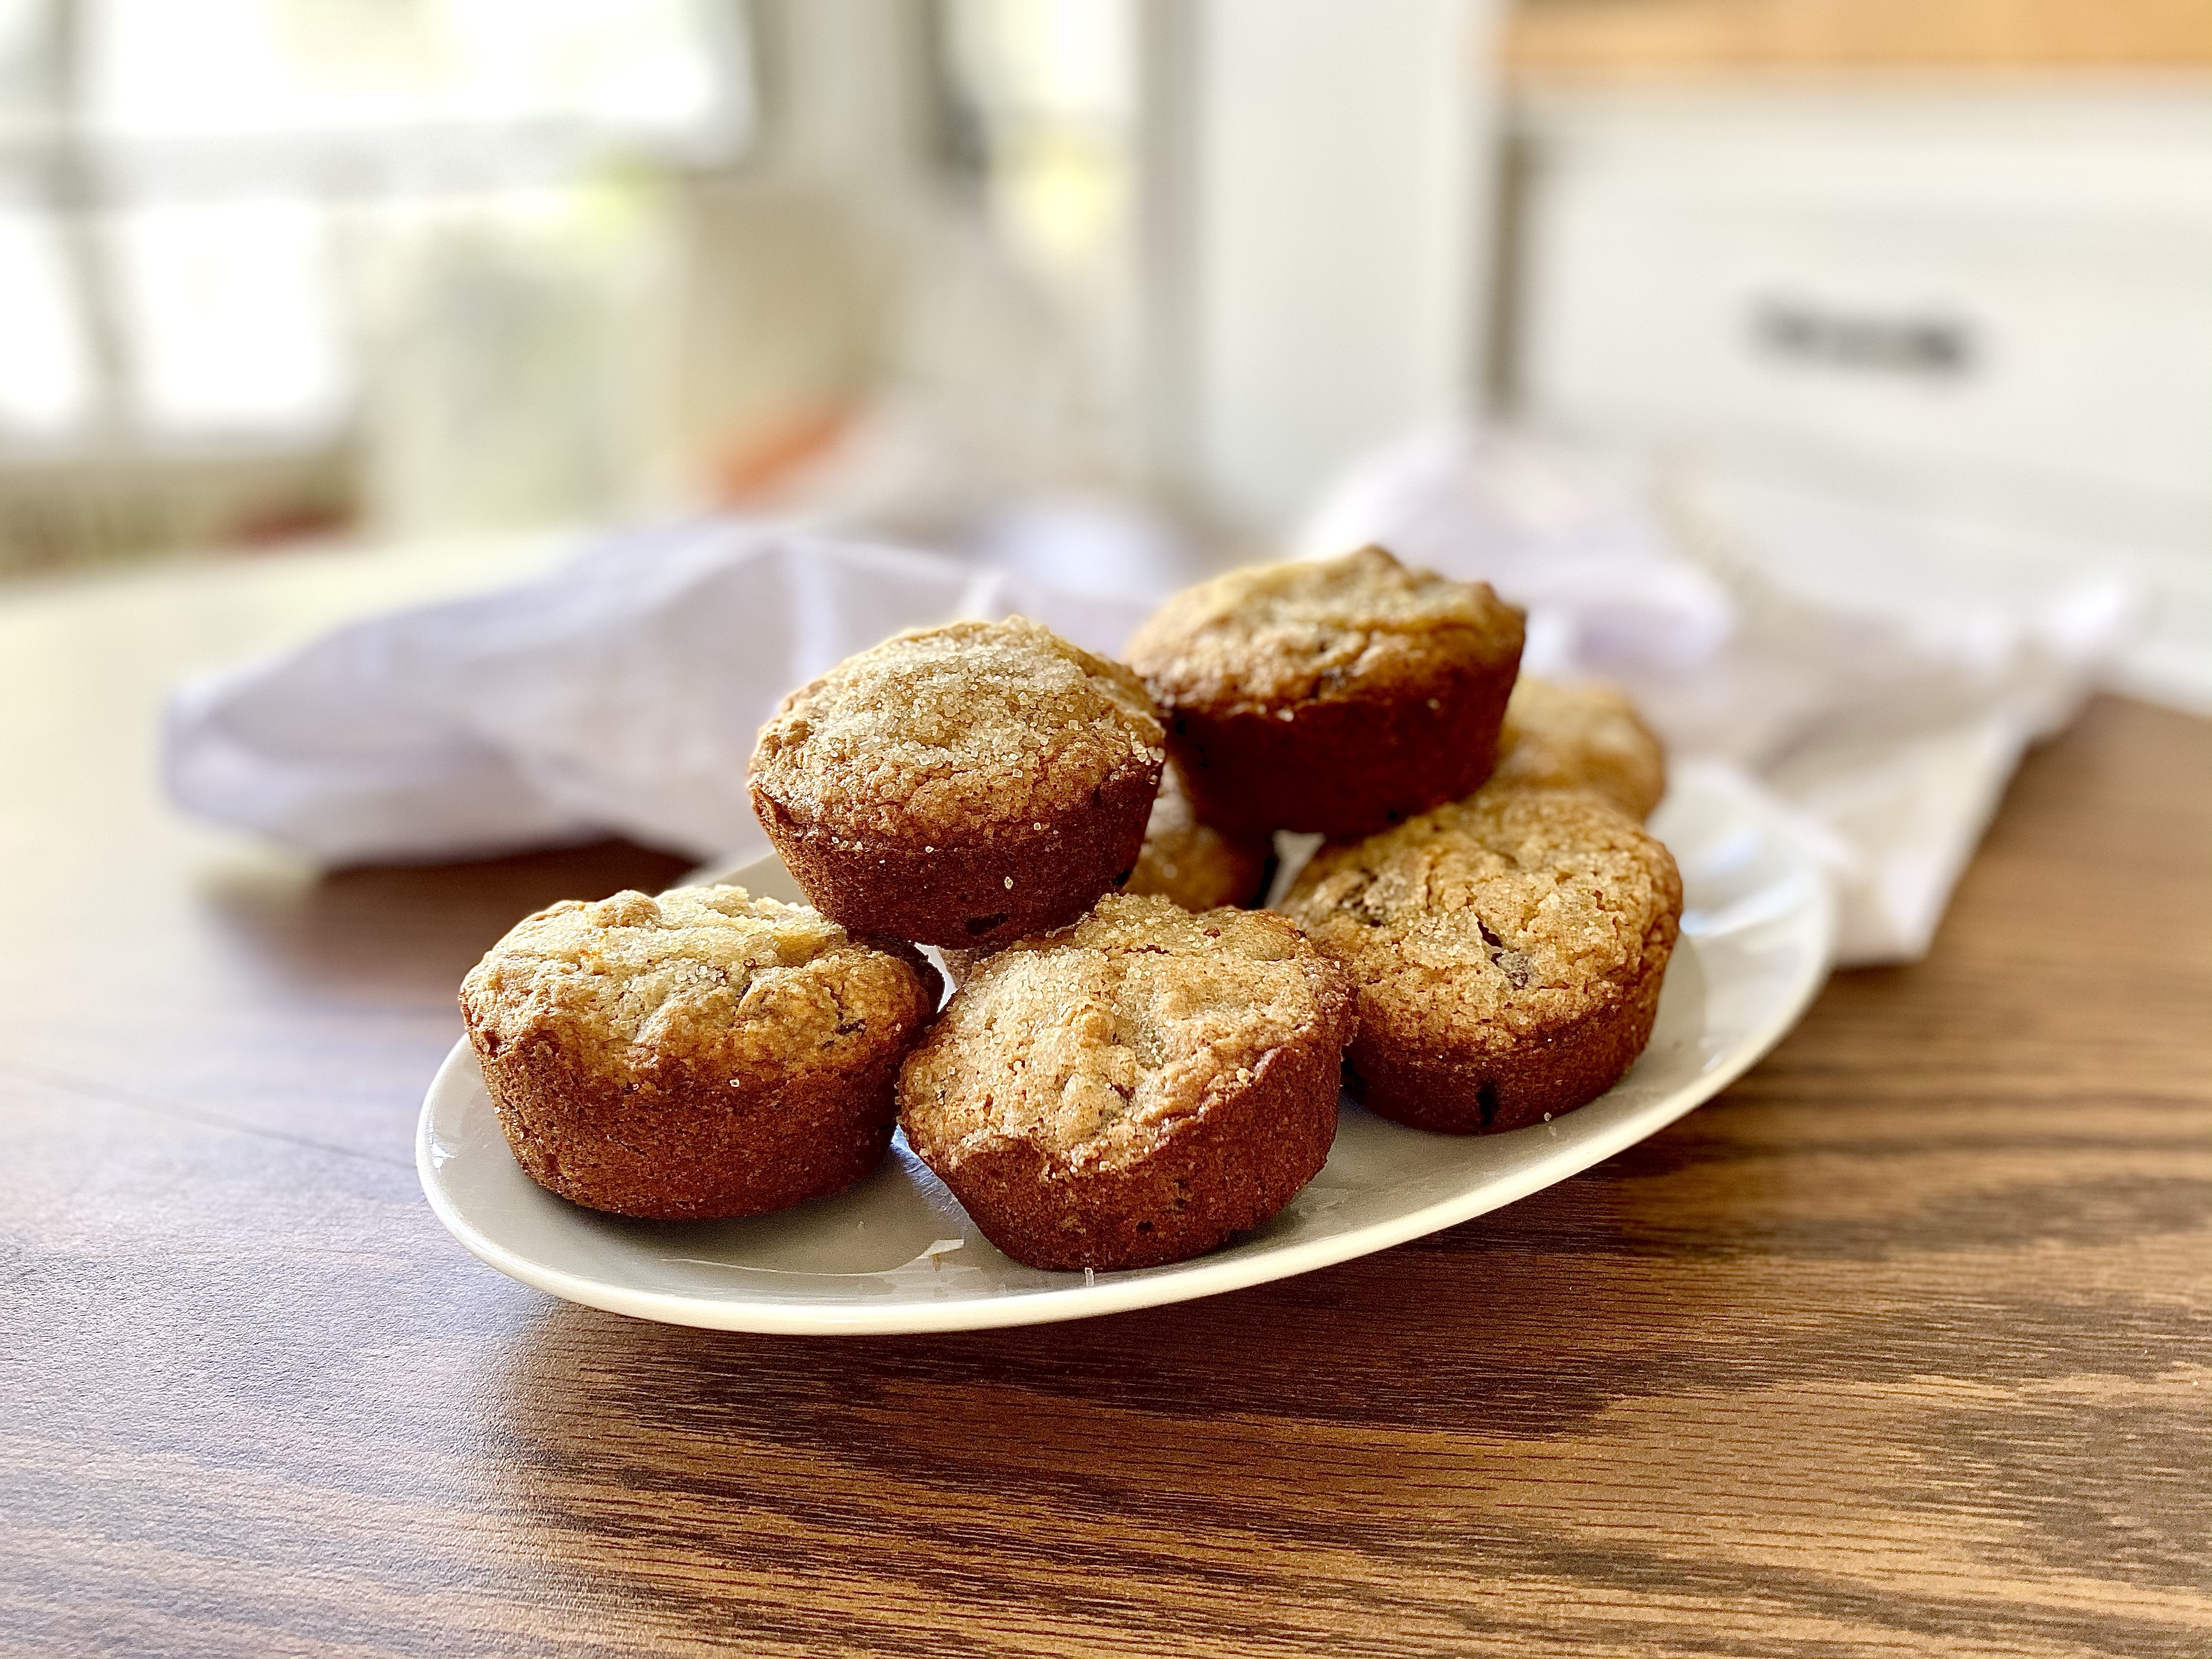
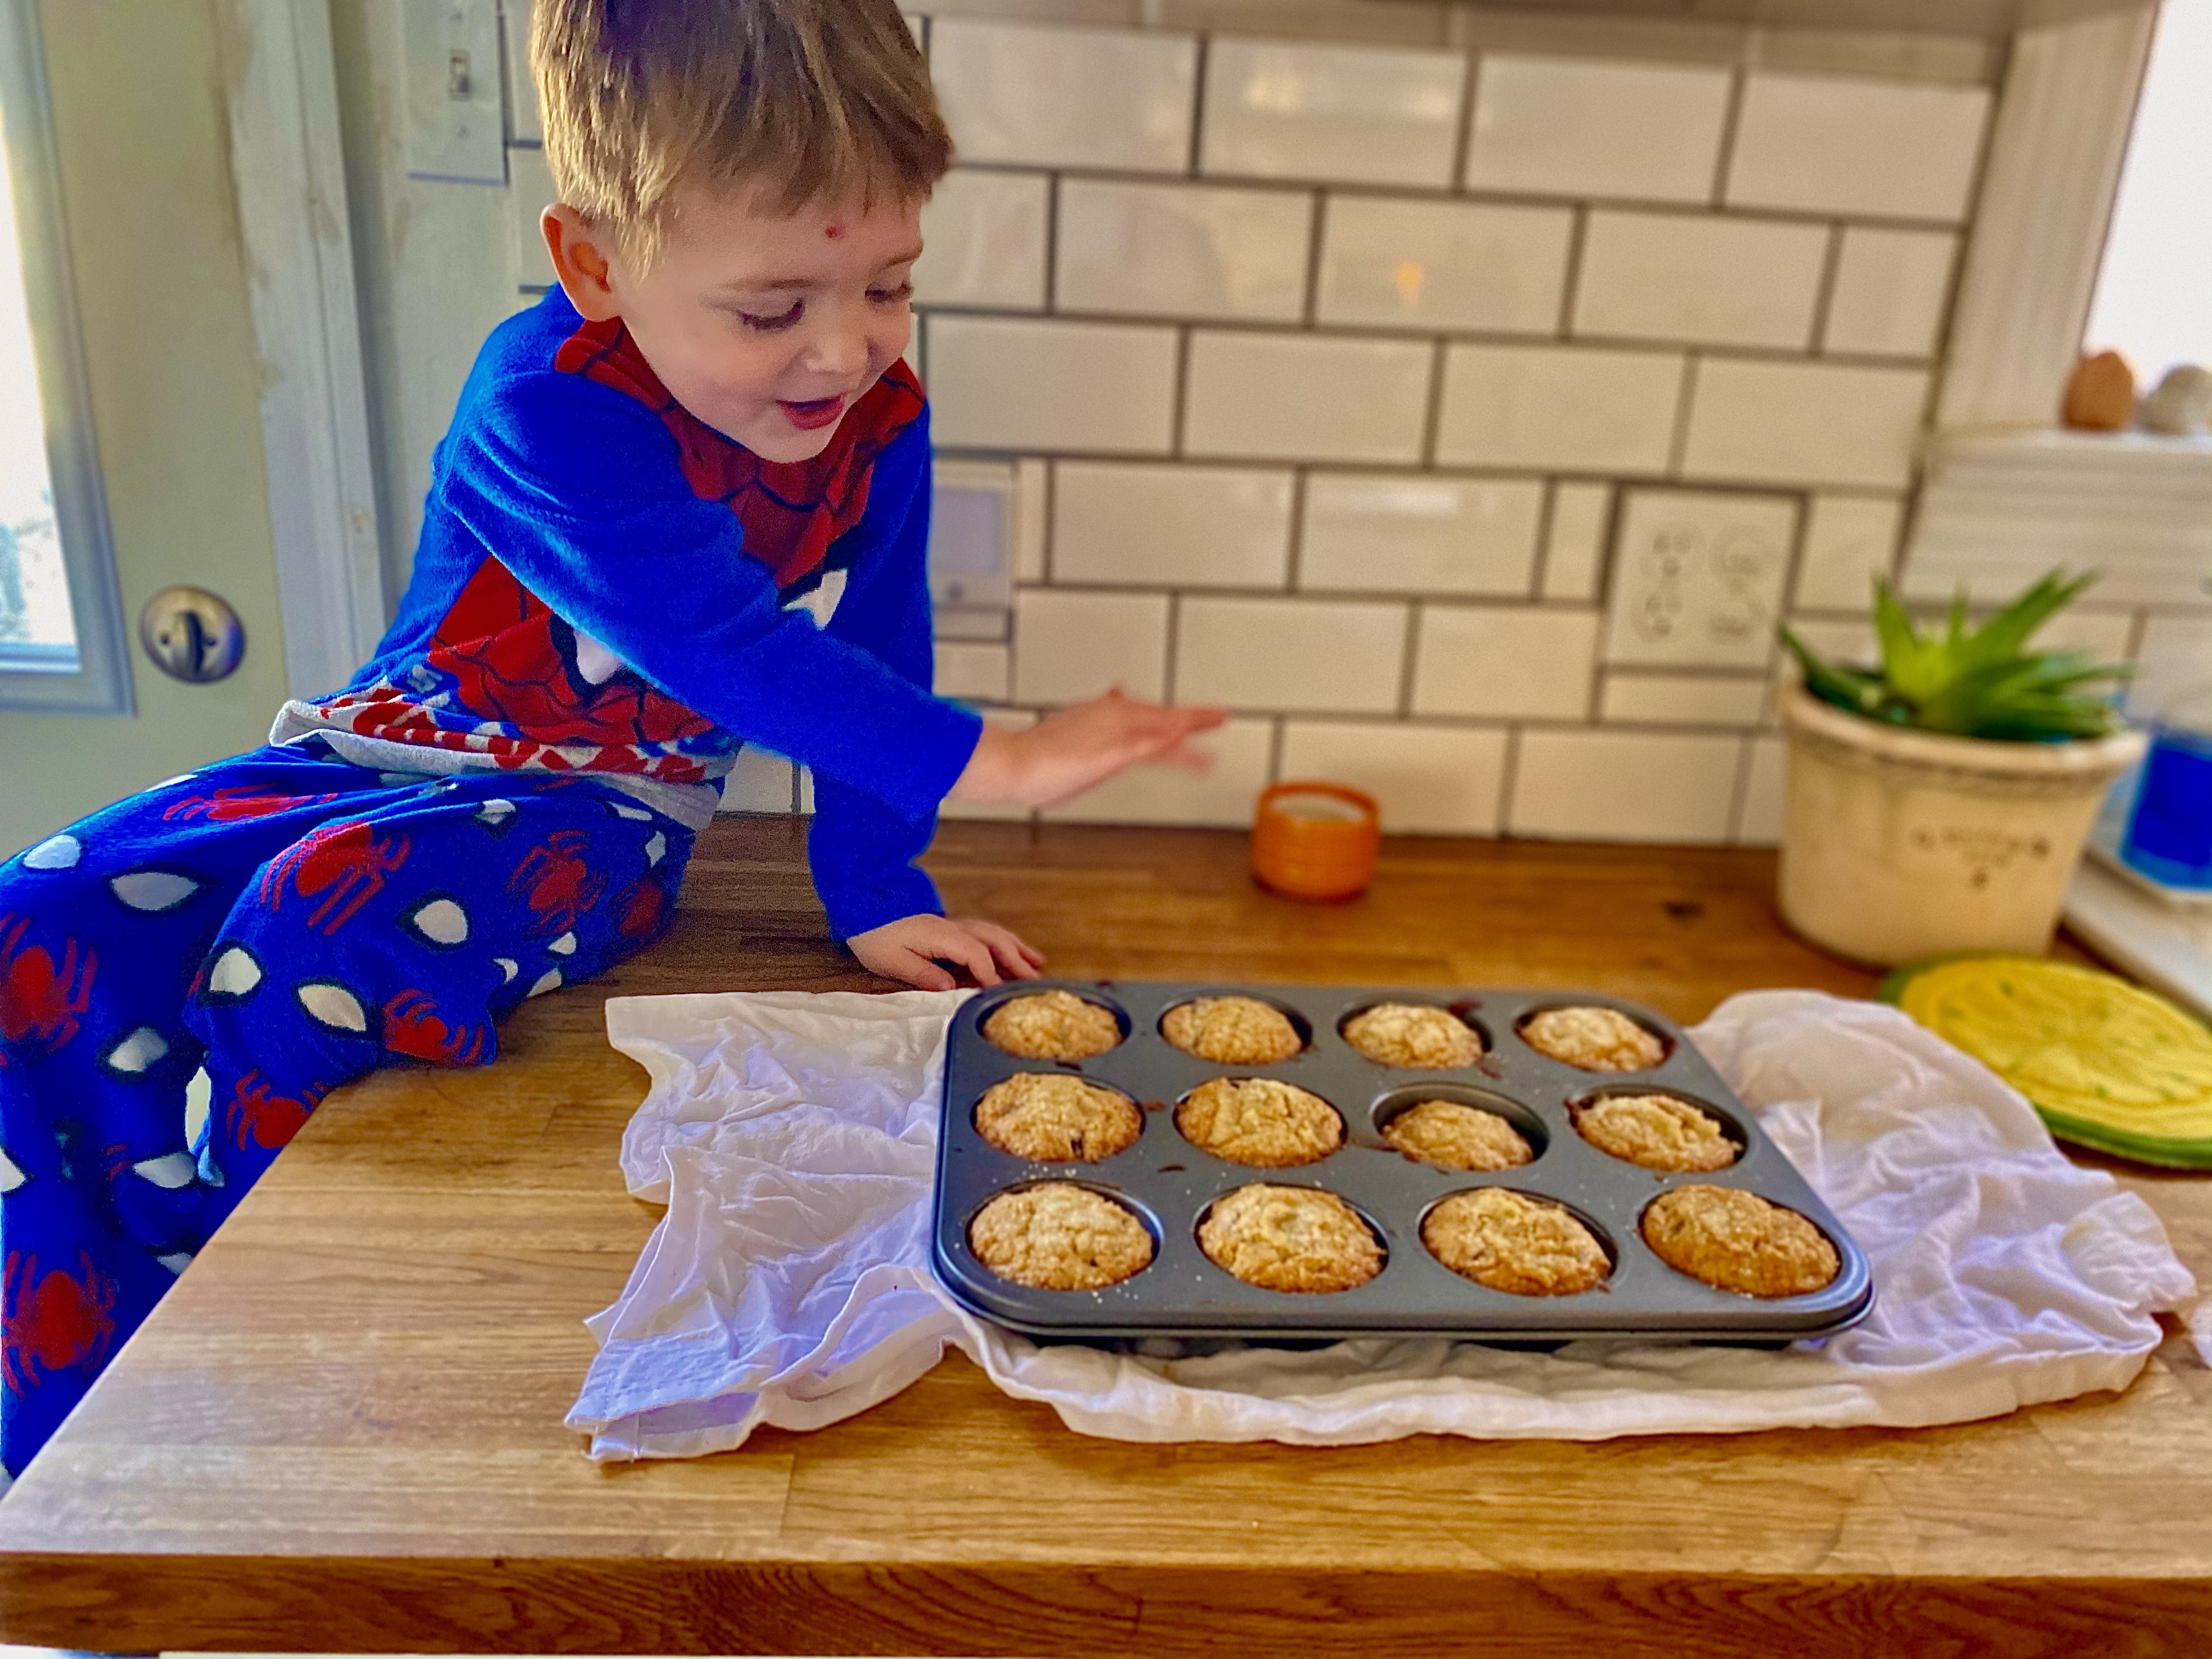
Luxurious breakfast: Gluten free mascarpone muffins with dark chocolate
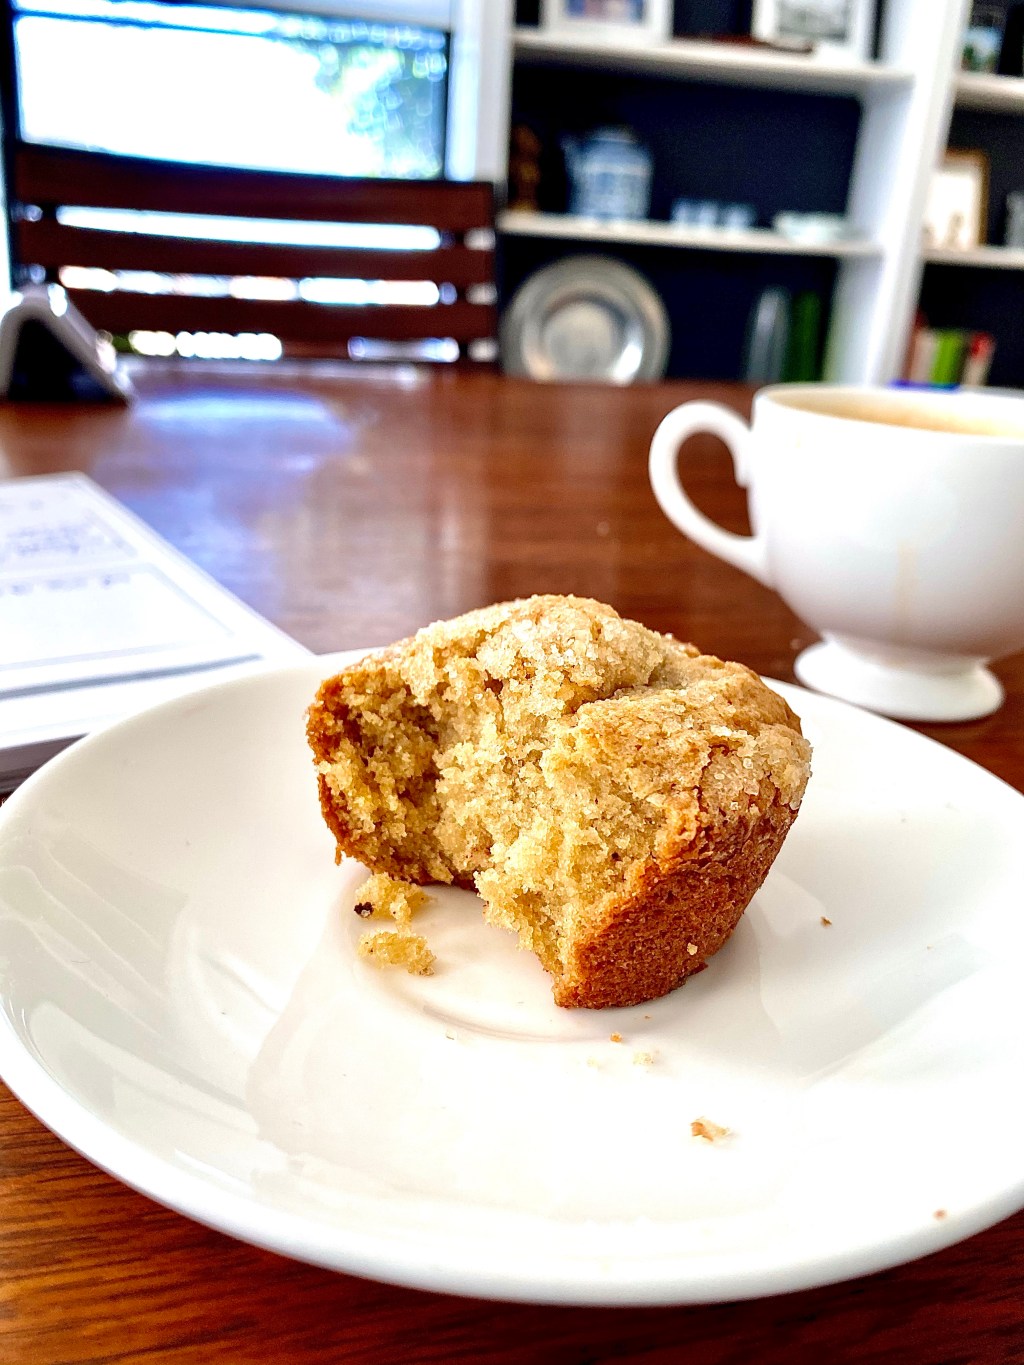
Something about Sunday morning just screams “muffins” around here. The kids always need a project and, well, we all love muffins. I’ve been craving something with mascarpone in it and there was a bag of dark chocolate chunks in the pantry calling my name, and so these muffins were born. Next time I try it I may add some orange zest and vanilla, but these were a nice and simple little morning treat (an espresso finishes it off nicely).
Ingredients:
- 1 cup gluten free flour blend (I used this kind). Make sure the blend you use has xantham gum.
- 1/2 cup oat flour
- 1/2 cup organic, coarse sugar
- 1 tsp. baking powder
- 1/4 tsp. salt
- 1/2 container or 4 oz. mascarpone cheese
- 1 egg
- 5 tablespoons butter (grassfed always!)
- 1/2 cup applesauce (I used one I made myself)
- 1 tsp. almond extract
- 1 cup dark chocolate chunks
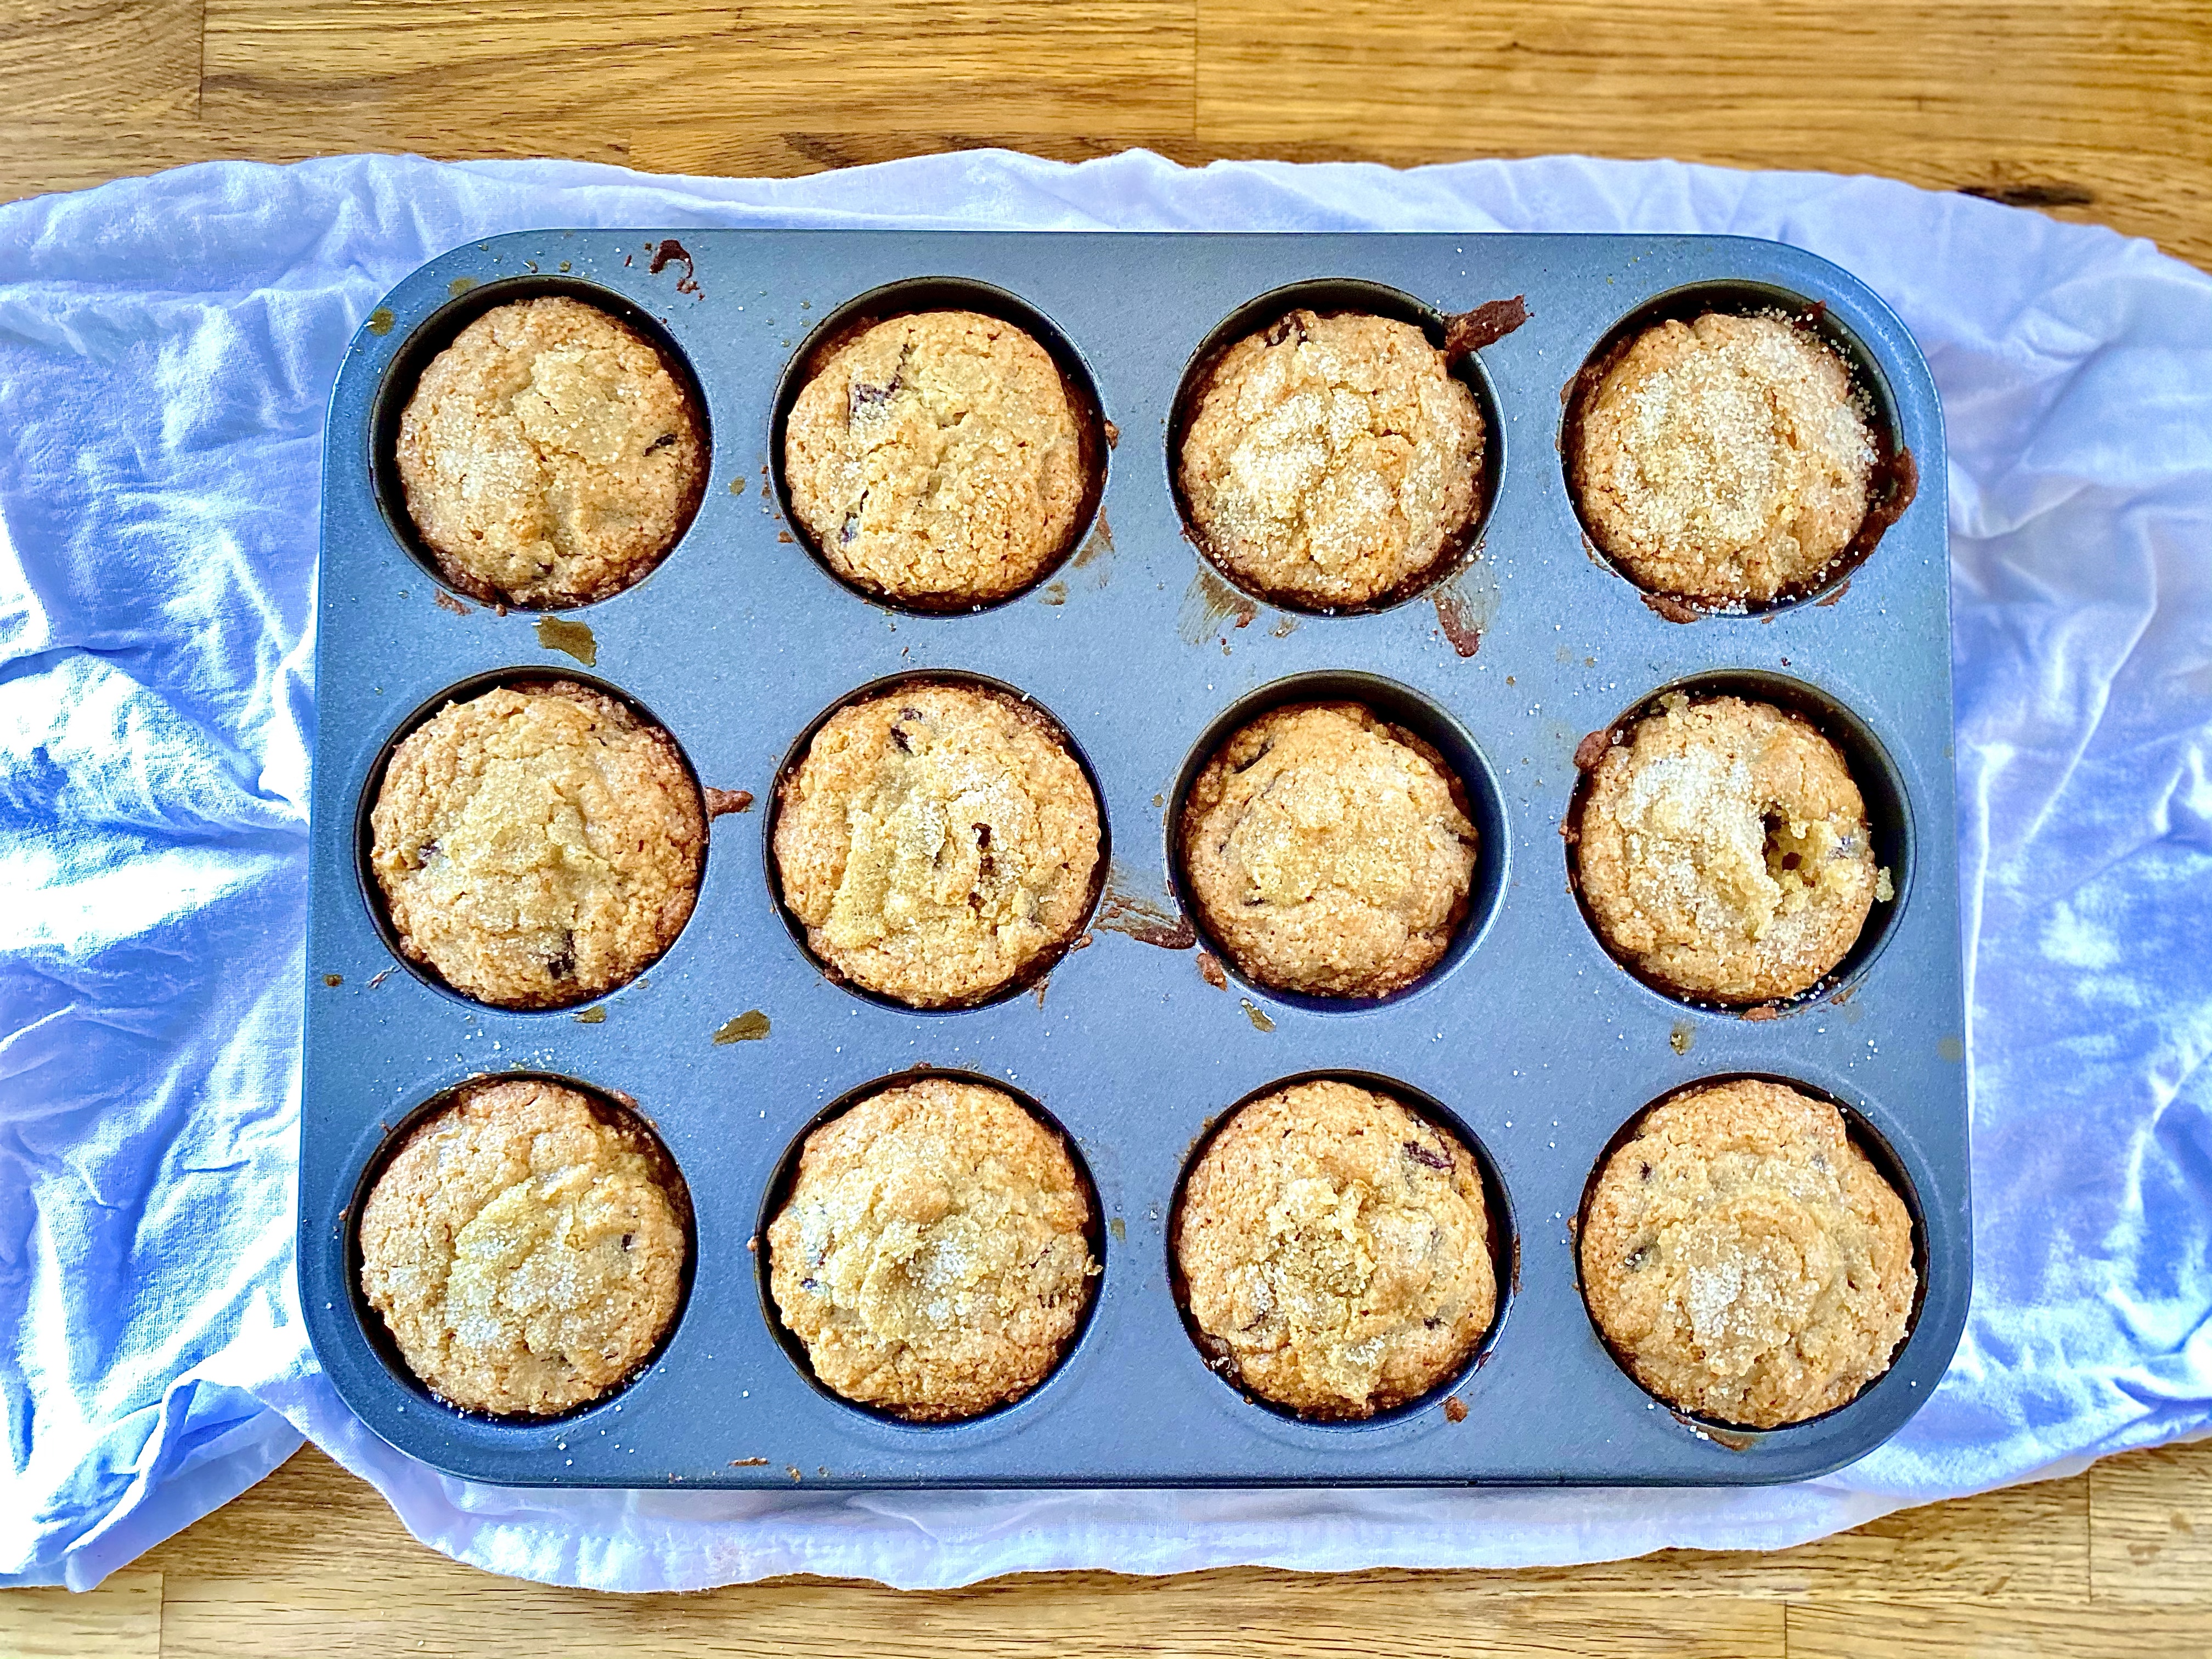
Directions: mix all dry ingredients together except for the chocolate. Mix the wet ingredients together, but let the mixture stay lumpy (this keeps the muffins moist). Fold the dry ingredients into the wet ones. The mixture will be thick. Add the chocolate chunks, then divide the mixture into a 12-cup muffin tin. Sprinkle some more of the coarse sugar on top of each muffin. Bake at 350 for 22 minutes, or until a toothpick inserted into a muffin comes out clean.
-
Chicken chili—an easy, one-pot dinner idea

This recipe was borne out of the need for an easy, fast dinner that also packed nutrition and flavor. I’ve been down with terrible allergy symptoms since planting my garden last weekend and needed something requiring minimal work and even less cleanup, but it also needed to be warm and satisfying. I’ve made many different chicken chili variations before, but this one is by far the easiest. You literally put everything into a Dutch oven or heavy lidded pan and throw it in the oven. The only other step is slicing the chicken and placing it back in the pan at the end. We were so hungry when this came out of the oven that I didn’t manage to get a photo of the final product!
Ingredients (makes 4 large servings):
- Three medium sized chicken breasts, thawed (they can still be partially frozen if you are pressed for time)
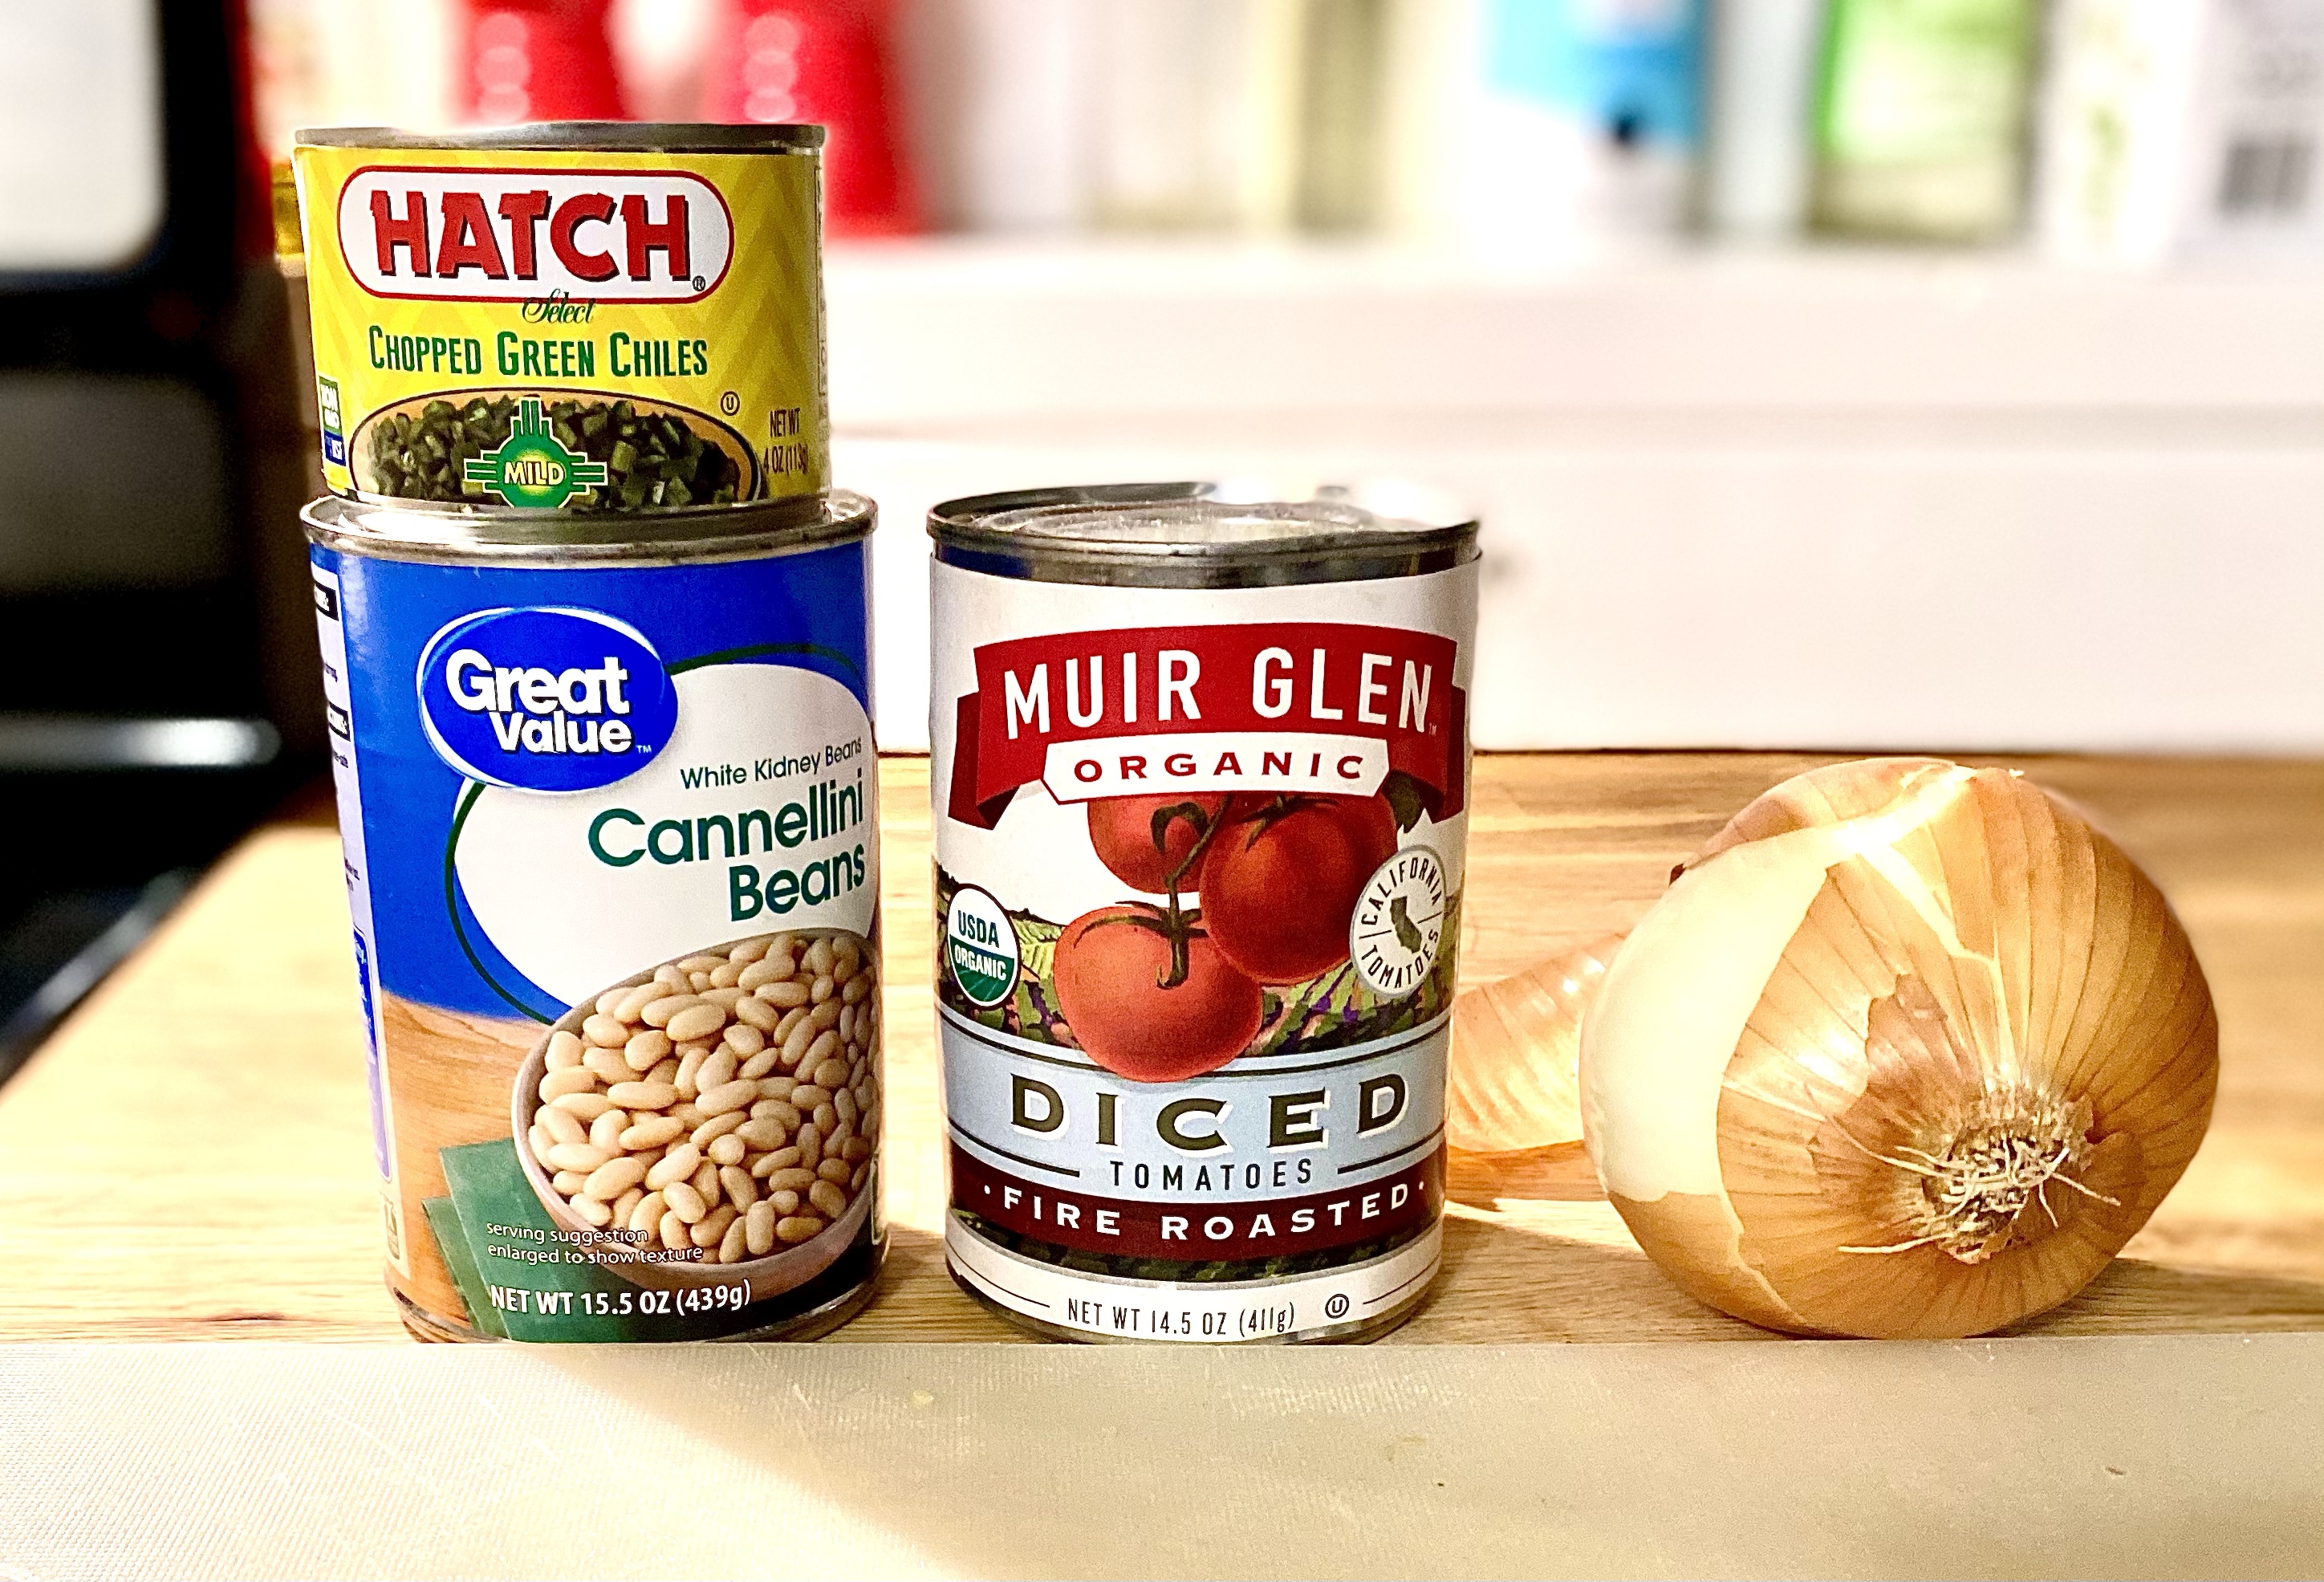
- One 4 oz can of green chilis
- One 15 oz can of fire roasted tomatoes (click here for the ones I love)
- One can cannellini beans, drained and rinsed
- One onion, diced
- 2 tsp cumin
- 1.5 tsp chili powder
- 1 tsp salt
- 1/2 tsp garlic powder
- 1/2 tsp white pepper
- 2 tsp smoked pimenton (paprika)
- A handful of your favorite chopped herbs (I used a spicy oregano and cilantro from my garden)
Directions: Preheat the oven to 350. Place the chicken breasts in the pan. Pour all other ingredients on top. Stir slightly, just to mix. Cover pan and bake for one hour. Pull the pan out and take the chicken breasts out with tongs. Place them on a cutting board, and, when cool enough to handle, dice them. Put the chicken back in the pot and stir gently. Place the pot back into the oven for 5 minutes. Remove and enjoy with your favorite tortilla (I like this kind, which are gluten-free and paleo).
-
Top 5 Edible Crops to Plant Now for an Early Urban Farm Harvest

Gardening is my second favorite activity (to cooking). There is nothing like deciding what to have for dinner and heading into my front yard to pluck the ingredients. My kids like to join in too — they love to try each kind of lettuce and then spit it out and tell me it’s gross (joke’s on them- they’re trying it!). They especially adore pulling carrots they’ve planted and helping me pick green beans, cherry tomatoes or blackberries. Below I’ve outlined the things you can plant right now, in March, for an early harvest. I like to plant about half of what I want now and save the rest for later in the month so my harvest is stretched out a bit longer. If you need seeds, click here to try out Seeds Now. This is an affiliate link, which means I make a small commission on a sale at no extra cost to you.
- Herbs. In my garden, herbs perform better than anything. I plant everything I can get my hands on that will fit in my small space — cilantro, oregano, basil, lavender, dill, and more. And you bet I use them every day, like in this gin and rosemary cocktail.

2. Root veggies, like carrots and radishes. These are a real crowd pleaser if you have kids who like to help in the garden. There is something so satisfying about watching them pull up veggies that they planted and will actually eat! You must till your soil deeply for success and sow them very shallow, not more than 1/4 of an inch.

3. Beans and peas: These are so easy they are the go-to for kindergarten teachers to have classrooms full of 5-year-olds plant in cups with wet paper towels. Seriously, if you have a little bit of decent soil, a trellis of some sort, sunlight and water, you will be kept in fresh beans/peas/snap peas — whatever your preference — all spring and sometimes into the fall if your summers are mild. Plant more than one variety for the best crop, and be sure to harvest these as they become ripe to allow the plants to produce as many as possible.

4. Lettuces, chards, kales, cabbages and other greens tend to do well in cooler early spring weather, and may even survive one last frost. I’ve already done spinach and several lettuces and will get cabbage and chard in the ground towards the end of March. And you’ll have plenty for this classic Italian soup.

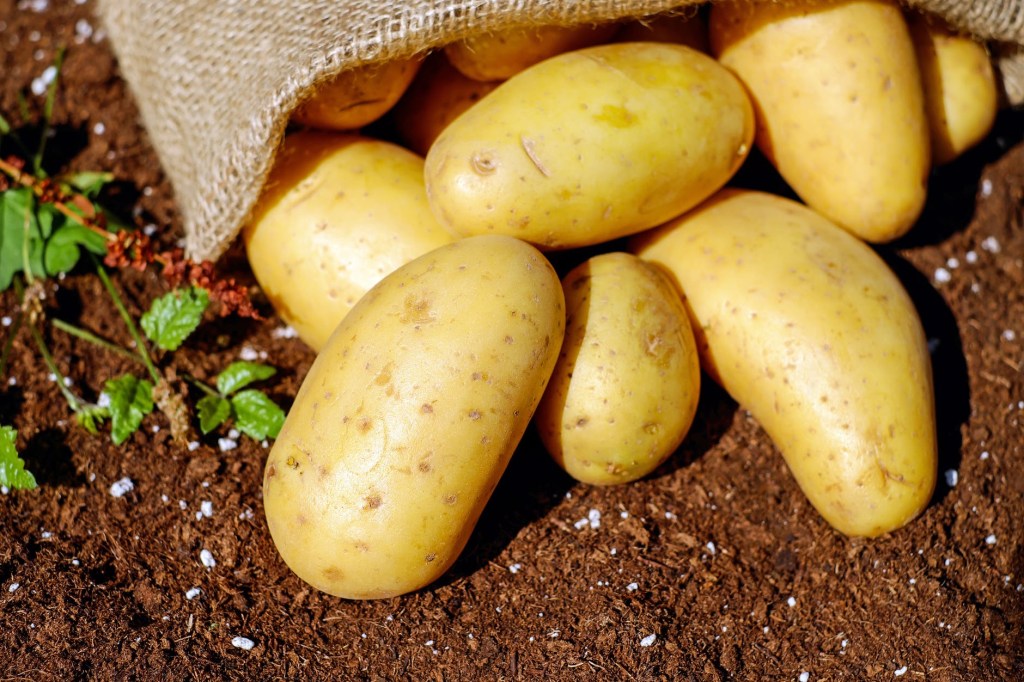
5. Potatoes: These are another fun one because they are deceptively easy. I do mine in a grow bag, which eliminates the need for laborious digging to harvest. I saved a potato from a bag of organic gold potatoes last spring and let it sprout on my windowsill (place the potato in a cup of water halfway up the side of the potato, using toothpicks to keep it above the water line). Once it sprouted, I was able to cut it into slips and plant them in a grow bag. We had tiny, fresh, yummy gold potatoes for weeks. Roast them in duck fat like I do here.
I know this varies a bit based on what zone you are in, but most of these are fairly common to North America for this time of year (especially if you have cold frames or a greenhouse for your seedlings). Here are a couple of links to help you determine what’s right for your garden and your area. I also love Brooklyn Farm and Garden Betty for inspiration and tips!
Happy digging!
-
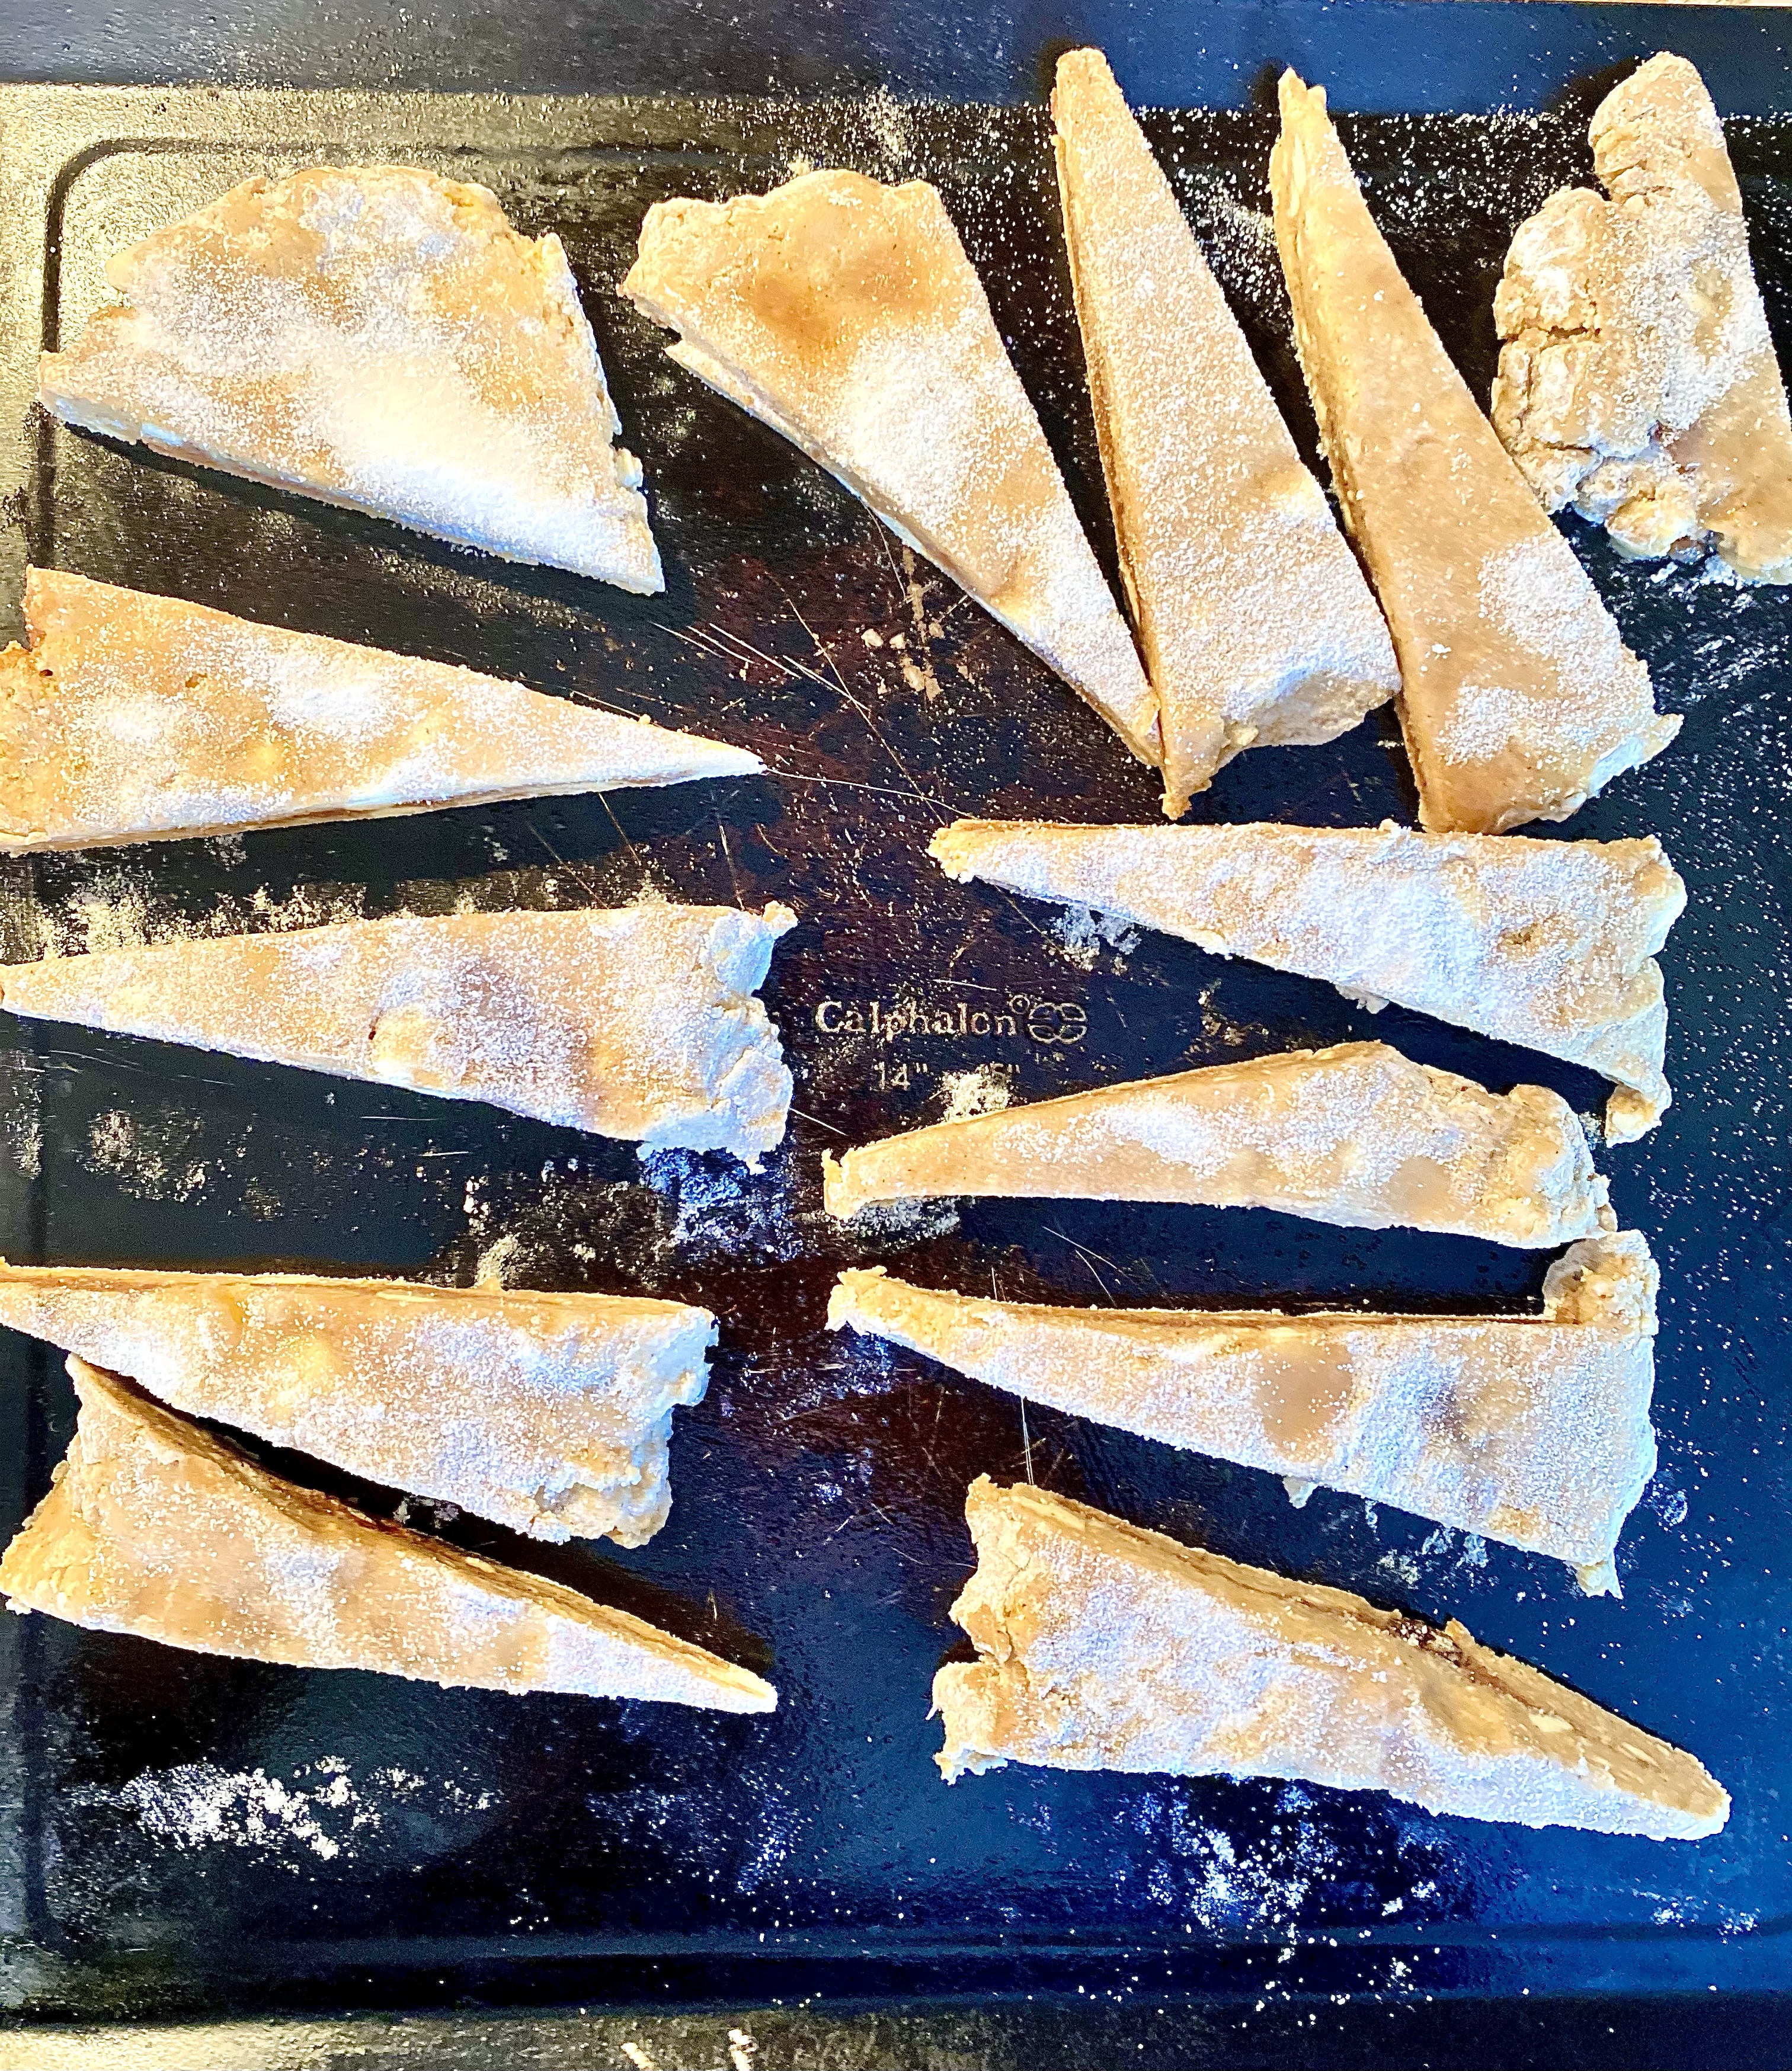
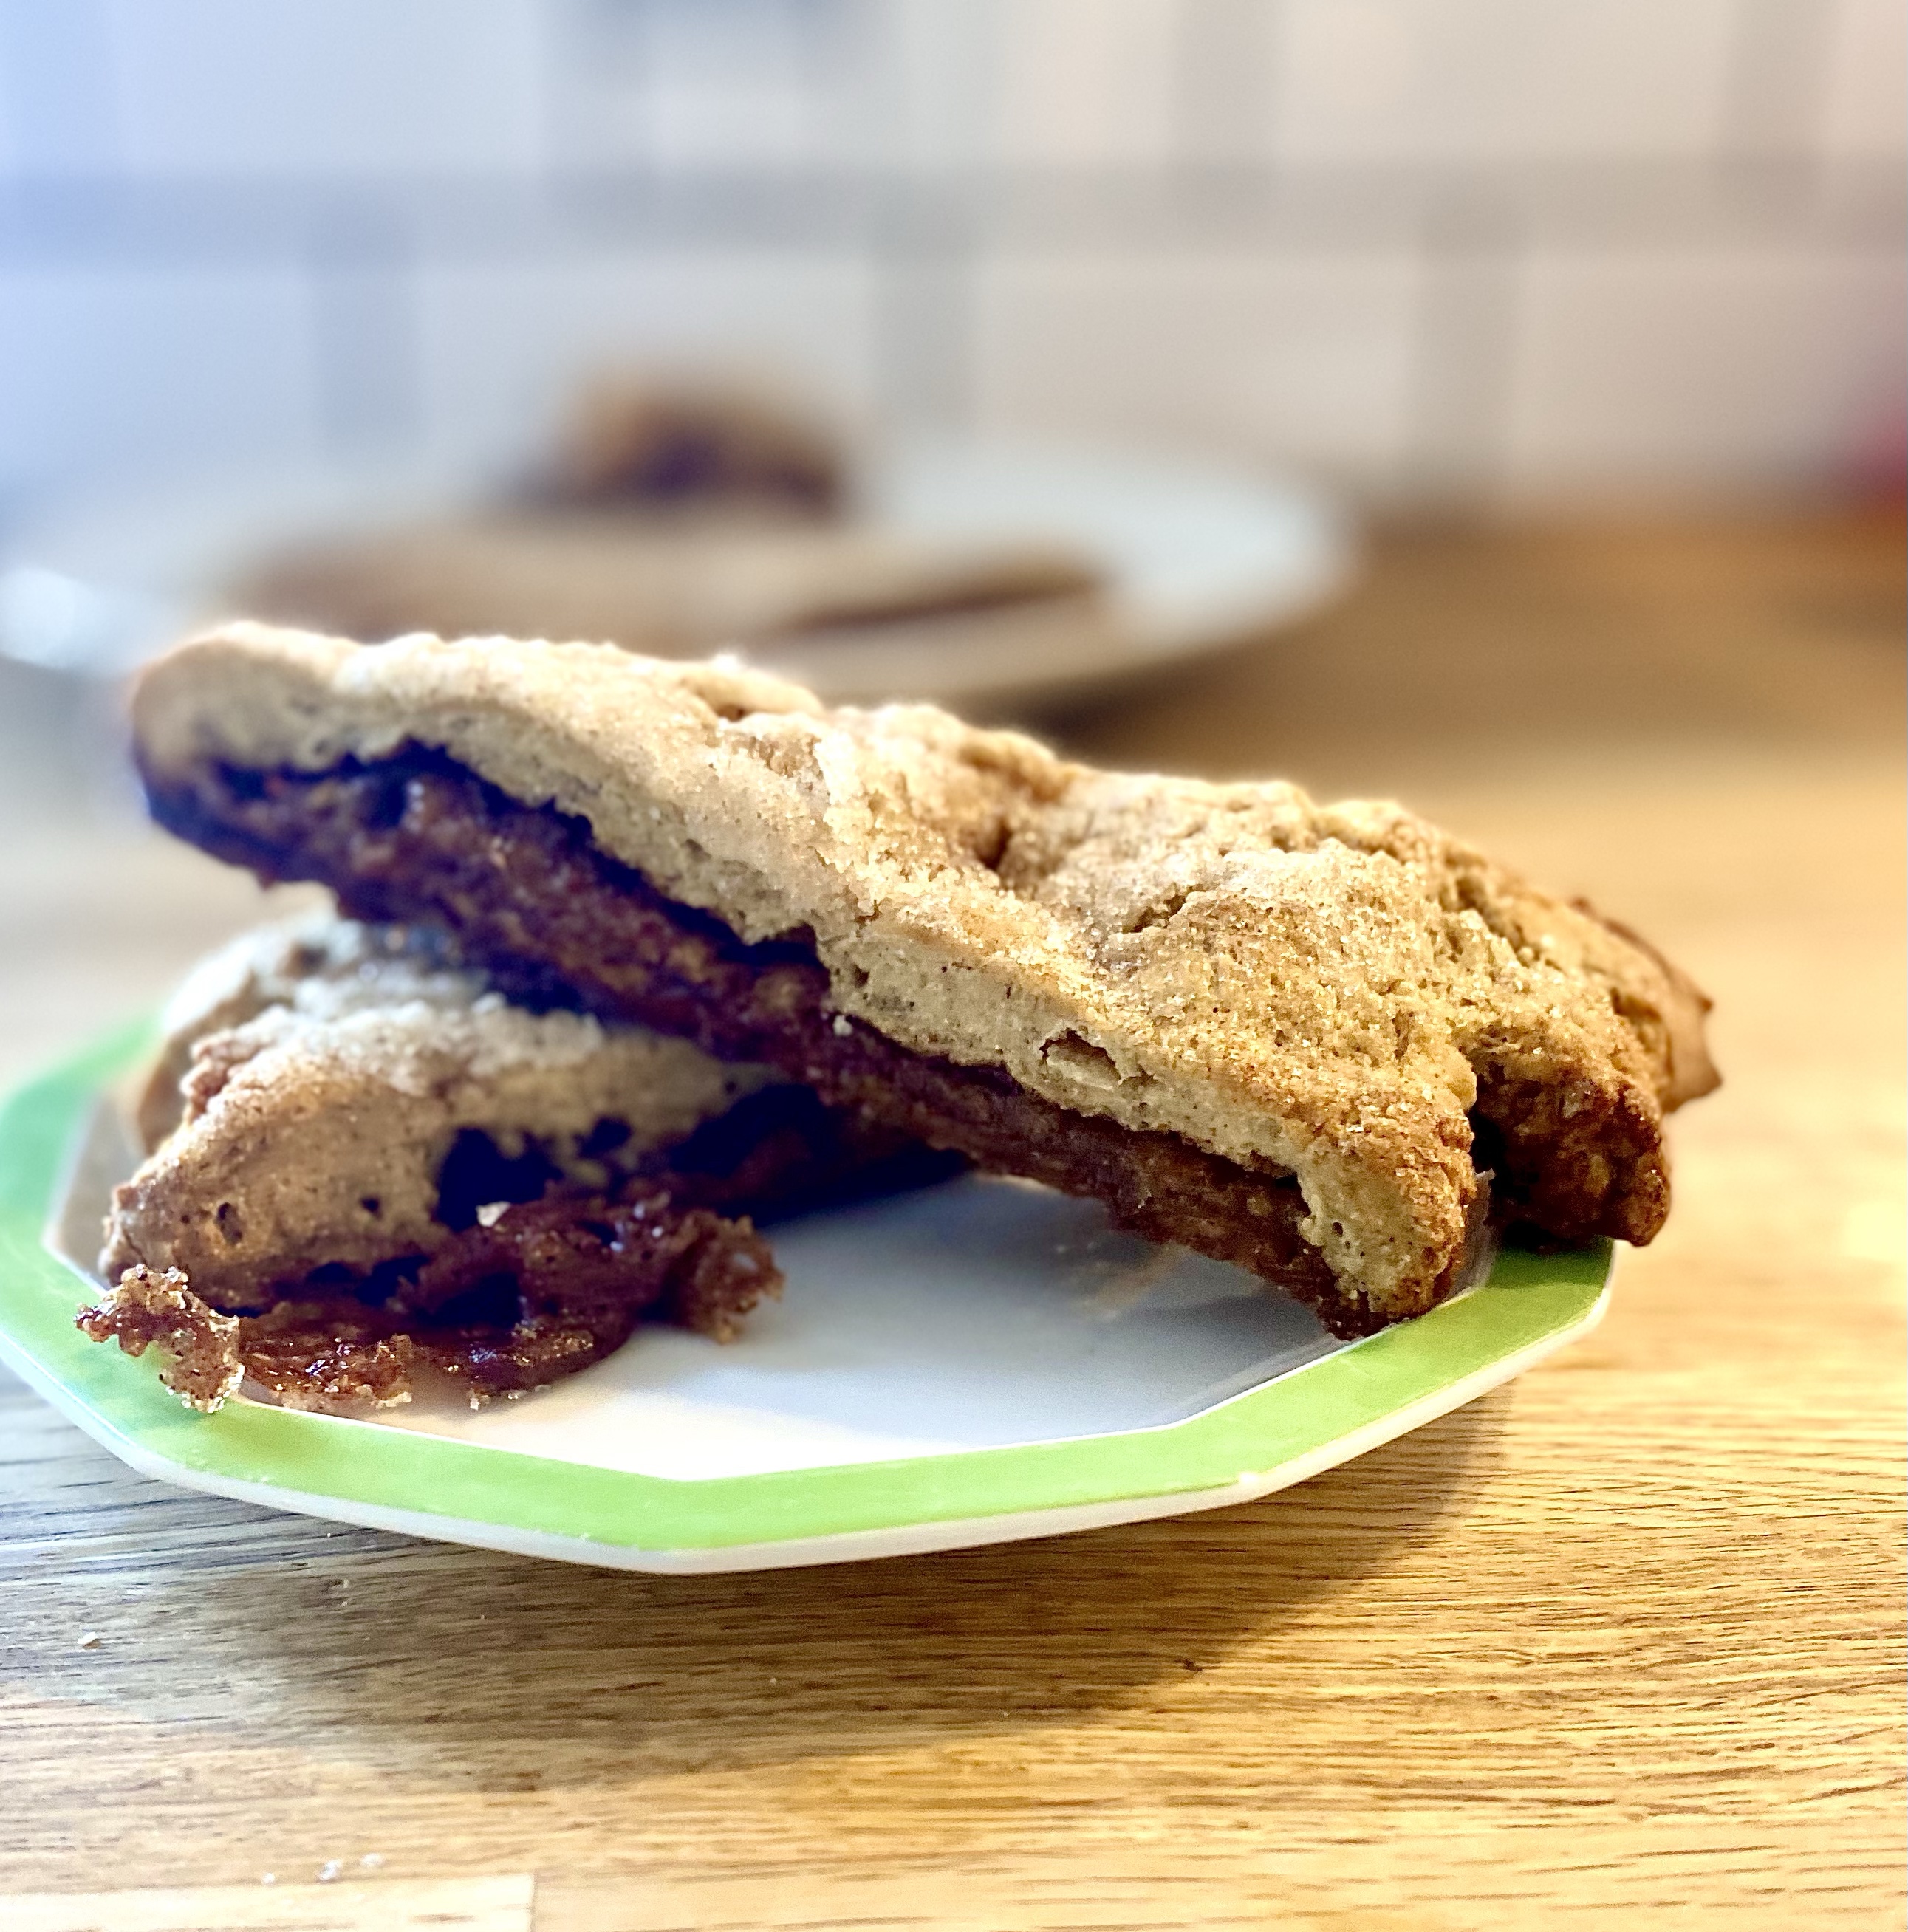
Gluten-free scones with cinnamon and brown sugar filling

It’s rare that I come up with a recipe in the pastry or bread category that comes out perfect the first time. Now, this is a pretty basic scone recipe, but I altered the ratios of butter, cream and yogurt and played with the spices and extracts for a flavor I knew I’d love. These scones came out perfect… biscuit-y without being too crumbly, the perfect dryness of a scone with enough moisture to hold it together. The cinnamon sugar mixture leaked out and formed crunchy, crispy, chewy little sugar morsels and the tops of the scones had just the right amount of crunch. These were incredibly easy to make and when paired with a slice of bacon and a cup of coffee — total heaven.
Ingredients:
- 2 cups gluten free flour blend (add a teaspoon of xantham gum if yours doesn’t have it). I used this kind and added xantham gum.
- 1/4 cup coarse granulated sugar
- 2 tsp. baking soda
- 1/8 tsp. cardamom powder
- 1/8 tsp. nutmeg
- 1 tsp. cinnamon
- 6 tablespoons butter (cold)
- 1 tsp. almond extract
- 1/2 tsp. butter extract
- 1/2 cup whole milk grass fed yogurt (plain)
- 1/4 cup heavy cream
- 1 tablespoon lemon juice
- 2 eggs
For the cinnamon brown sugar filling:
- 3-4 tablespoons butter
- 1/2-3/4 cup brown sugar
- 2 tsp. cinnamon (more or less, to taste)
- 1 tsp. vanilla
- 2 more tablespoons butter for drizzling the top
- 2 tablespoons granulated sugar for dusting the top
Directions:
In a medium sized bowl that will fit in your fridge (click here for one I love), mix together the dry ingredients. Chop the butter into tablespoon-sized pieces and cut it in with a pastry cutter or a fork, only until it is partially mixed and you can see large bits of butter. Add the eggs, cream, yogurt, lemon juice and extracts and mix just until it comes together. Cover and refrigerate at least two hours, or overnight.
When you are ready to bake them, mix up the rest of the butter, brown sugar, vanilla and cinnamon.
Dust your countertop with gluten free flour and dump the dough out on top of it. Dust a little bit of flour on top of that, and knead it with the palm of your hands, just a few times, until it stays together. Press it down into a rectangle about an inch thick. Spread the cinnamon-sugar mixture on it, and then fold it in half, making sure the cinnamon filling is in the middle. Press it down to about an inch thickness again. Brush melted butter over the top and sprinkle about two tablespoons of granulated sugar on top. Cut into triangles, however large or small you’d like. I cut mine pretty thin to make about 13 smallish scones. Place them on a baking sheet (lightly greased or sprayed) and bake at 400 degrees for about ten minutes.
Modern Hippie Kitchen
Recipes and Kitchen Blog